Seat Covers

NiteDog

New member
Back when I did the color change on the YJ, I still had those factory spice seats. I thought I could get away with the cheapie covers I found at the local Wally Mart. Well I did for couple of months. After awhile the covers get stupid and bunch up, never stay where you want them. Finally I got tired of this mess and stopped at a local upholstery shop that does street rod and boat interiors. (mostly custom stuff) The owner gave me a price I couldn't refuse complete with the custom embroidery work and rebuilt the foam that my butt crushed getting in and out of the drivers' side.

Well here they are! No more spice factory crap broken down seats and good bye ratty Wall Mart seat covers. They are still the stock frames but have a whole new feel and ride comfort.:grin:

PSide-2.jpg


DSide-2.jpg


All3-2.jpg
 

wow! Those came out really nice!

That's definatly a step up from walmart seat covers...
 

A little pricey but well worth it. The material is a heavy vinyl that almost feels like a leather. Two day turn around time and he took them out of the Jeep disassembled them and put them back. The logo panels he had done up a few days before hand. Seats were 750 for all three and the logo work was 85 for the setup and 36 for the embroidery(12 per seat).

TC, if you are heading toward York on Rte 30 at the 30/462 split head in on 462 to the next traffic light. Just after the light on the left is a row of garages, he is in the first one. New Image Upholstery. See Lee.
 

Wow, I really like those. Makes me wish I had had my seats redone instead of putting the Neoprene seat covers on. Loookin goood
Mike
 
NiteDog said:
A little pricey but well worth it. The material is a heavy vinyl that almost feels like a leather. Two day turn around time and he took them out of the Jeep disassembled them and put them back. The logo panels he had done up a few days before hand. Seats were 750 for all three and the logo work was 85 for the setup and 36 for the embroidery(12 per seat).

TC, if you are heading toward York on Rte 30 at the 30/462 split head in on 462 to the next traffic light. Just after the light on the left is a row of garages, he is in the first one. New Image Upholstery. See Lee.
Wow, that's pricey... but I'll need to do something with the seats when I get the '88 back. I only need the front done though 'cause I have the rear from my '92... maybe I'll check him out. Thanks for the info.
 
TwistedCopper said:
Wow, that's pricey... but I'll need to do something with the seats when I get the '88 back. I only need the front done though 'cause I have the rear from my '92... maybe I'll check him out. Thanks for the info.

I am sure you can go with a little less expensive materials and save a little on the job. I lean a little more toward 'Show & Shine' at the shows, so I got a little crazy.;) Also I looked at a lot of premaid seat covers and they can get pretty salty too and with no real guarantees of a good fit. Maybe I am a just little too anal.:lol:
 

I was thinking of the bestop covers, but seeing those, some new padding would be sweet and that vinyl looks like the stuff that comes in a new base TJ. I want water resistance.
 
holy moly those are nice!!!

Solid look. Why'd you do a color change? Did you hate the spice that much?
 
mingez said:
holy moly those are nice!!!

Solid look. Why'd you do a color change? Did you hate the spice that much?

Thanks.

The YJ body went from black to blue and the spice just plane clashed color wise. So I changed the whole interior to black with some dark grey. Next phase I'll do the door panels and dash pad, that are painted black now.
 

Awesome!!! Wish I had the money.....I've got 2 that could use that treatment.
 
How did painting the door panels turn out. I want to also get rid of the spice in my 93 yj. Its the dark green color so im thinking i could change the inside to gray or black. also did you paint the dash or get a replacement ???
 
Spotfirecsi said:
How did painting the door panels turn out. I want to also get rid of the spice in my 93 yj. Its the dark green color so im thinking i could change the inside to gray or black. also did you paint the dash or get a replacement ???


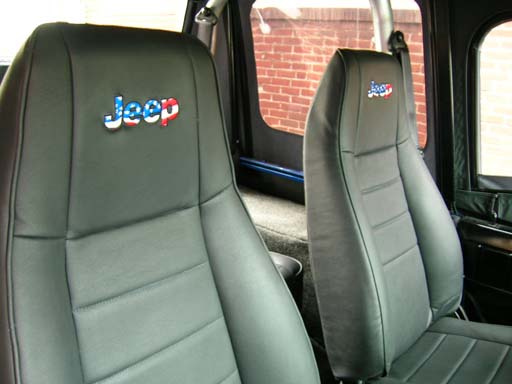
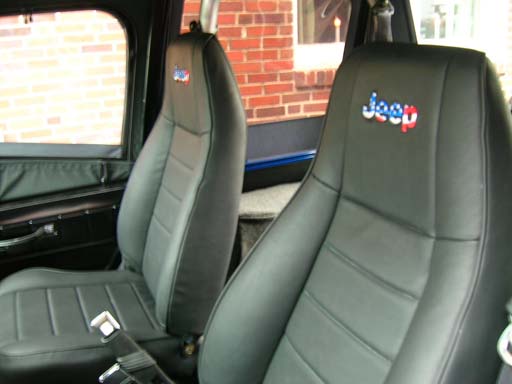
Currently it is all painted. Trust me this is a lot of work, but if you are going to paint you must do it. Remove the dash pad and defroster air channels. You will have to lay your windshield forward to get this out. Once you have the dash out, seperate into it's two pieces. Remove the dash trim pieces, I assume you may want to do these as well. Remove the door panels. If the metal dash panel is spice you can remove this as well, just remember to disconnect the battery before removing guages to avoid damage to them. Treat this panel the same way as described below but you do not use the 801 on it. Just sand, prime, and paint. (By the way if you need new speakers in the dash now is the time to do it! ;) )

You will need to sand all the pieces and surfaces that are to be painted, use a 320 grit paper and be sure to hit everything. Where the dash comes together to form the defroster vents you want to sand the inside of the vent aleast the first inch or so. You need to paint this area as well because when you reassemble you can see into the top part and the old spice color will show. You will need a good bonding agent to apply to the surfaces, I used PPG 801 plastic promoter. You can get this at most auto paint supply stores. Without this the paint will eventually flake off, so apply with paper towel. Wipe down everything. Now keep in mind I am doing this in my buddy's shop, I used a regular PPG grey primer, followed by a little more sanding with 800 to remove the 'Fuzzies', those little hair like pieces that show up after the primer hits it.Then another shot of primer. Allow to completely dry. Follow this with base color of your choice, I used regular black, and last follow with clear coat. Now with the clear coat it gonna shine like crazy, if you are not into the 'wet look' you can add a flatening agent to reduce the shine. Check with your paint supplier for this additive and mixing instructions. Assuming you have done this all in a clean area let it completely cure at room temp for several hours then reassemble.

Some guys have tried that Krylon for plastics. I never had good luck with that stuff. If you opt to go that direction I would at least do the prep work I described earlier and use the 801 before spraying it on.

Remember your are going to spend a lot of time looking at this dash, so take your time with the prep work. Don't rush it or short cut it you will only make your self mad if it turns out bad. The prep work is the most impotant part of the job. Good luck.;)
 
Back
Top