79 CJ7 - The Beginning

mrhc

New member
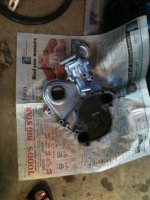
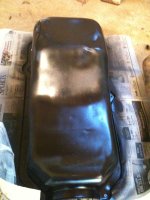
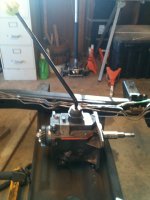
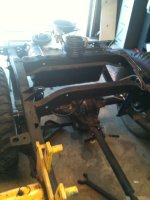
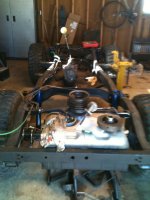
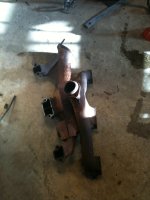
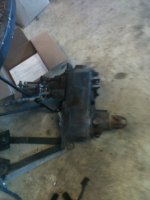
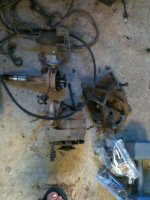
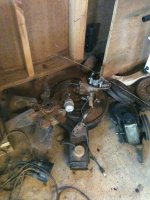
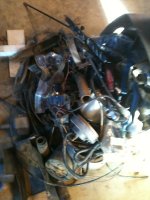
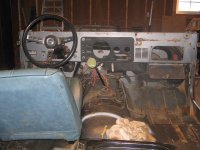
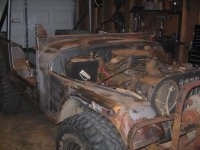
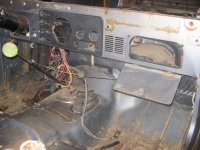
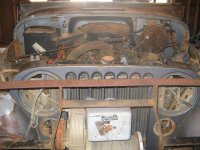
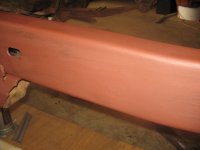
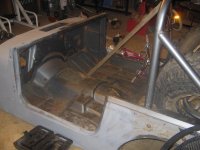
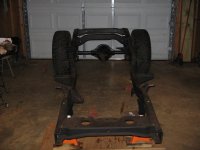
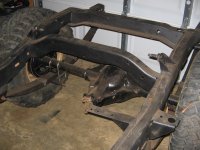
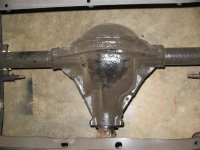
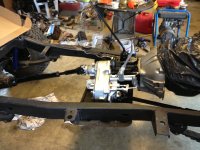
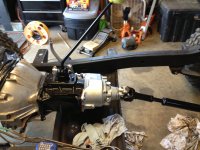
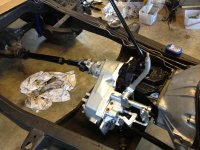
Taking everything off the tub to get it painted. Having lots of trouble with rusted bolts, screw heads stripping out, and not having the tools on hand to get the job done.
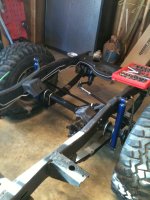
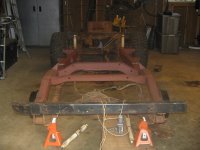
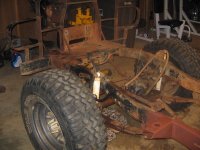
 

Attachments

  • IMG_1421.JPG
    IMG_1421.JPG
    441 KB · Views: 416
  • IMG_1419.JPG
    IMG_1419.JPG
    446 KB · Views: 478
  • IMG_1423.JPG
    IMG_1423.JPG
    424.1 KB · Views: 426
  • IMG_1424.JPG
    IMG_1424.JPG
    442.1 KB · Views: 427
  • IMG_1422.JPG
    IMG_1422.JPG
    416.7 KB · Views: 406

Looks like its in decent shape for a rebuild. Good Luck
 
Yep, gonna fix up the winch. It still works and is the factory install on this Jeep. I'm going to pretty it up and still use it.
 

My best advise fix and rebuild jeep first than paint it right before your ready to put tub back on that way you have less a chance of messig up the paint I learned that the hard way when I put a big scratch down side of tub moving my welder cart :cry:
That hurt the pocket a little deeper having to repaint the jeep again
 
Thanks for the advise. I have another place to keep the tub after it is painted where nothing will bother it. I'm going to cover while its off the frame in 'storage' too. When I get done with the frame and other things I'll put it back on. Any suggestions on how to get top layer of paint off quickly without going to bare metal too fast.
 
Have a question, how do I get the steering column removed from the Jeep without tearing it up? I have taken everything off - just about - but can't get the steering column to come out of the splined steering shaft. I have loosened the nut on the clamp but nothing is moving. It is pretty rusted and I need to use this steering column again so I don't want to mess it up. Thanks for all the help.
 

Update on the Jeep project. Got it to the bare frame mostly and have sanded most of it.
 

Attachments

  • IMG_1444.JPG
    IMG_1444.JPG
    410.1 KB · Views: 495
  • IMG_1445.JPG
    IMG_1445.JPG
    387.7 KB · Views: 318
  • IMG_1446.JPG
    IMG_1446.JPG
    224.8 KB · Views: 287
  • IMG_1450.JPG
    IMG_1450.JPG
    406.3 KB · Views: 344
  • IMG_1452.JPG
    IMG_1452.JPG
    458.2 KB · Views: 338
looks great, if you can, pop the springs off and inspect under the shackle hangers, up here in the rust belt, CJ frames turn to swiss cheese there. might want to tackle it while you can fling the frame around effortlessly.
 
Update on the restore....I've hit a wall because of other things I have to do and this has really slowed down. I have been building fences to keep in the cows and don't have any money left to work on the Jeep. . . .killing me! Here are some new pics.
 

Attachments

  • IMG_1451.JPG
    IMG_1451.JPG
    397.4 KB · Views: 348
  • IMG_1597.JPG
    IMG_1597.JPG
    374.8 KB · Views: 311
  • IMG_1596.JPG
    IMG_1596.JPG
    436.9 KB · Views: 294
  • IMG_1598.JPG
    IMG_1598.JPG
    472.8 KB · Views: 267
  • IMG_1595.JPG
    IMG_1595.JPG
    400.4 KB · Views: 273
  • IMG_1594.JPG
    IMG_1594.JPG
    360.5 KB · Views: 263

looks god to me, slow and steady wins the race.

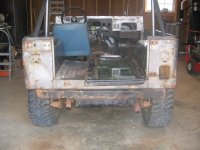
Please promise me you will not put that moose killer of a front bumper back on, it so distracts from teh nice lines of the vehicle.
 
Good looking 79 CJ.. well looking good so far.. Hopefully I will be doing about the same with mine soon

Sent from my Ally using Jeepz
 

Attachments

  • ForumRunner_20110830_192756.png
    1.5 MB · Views: 580
Well, I am more in the middle towards the downhill side of this rebuild. The tub and body parts are at the painter, the engine block and heads are being tanked and checked and rebuilt and the seats are being re-upholstered. Waiting on things to get done and start coming back to me. The engine should be done soon, like today, I hope. Here are some pics of what I'm doing while I'm waiting. Sanding, cleaning and painting all the parts that will start going back together. 8):p
 

Attachments

  • IMG_0394.jpg
    IMG_0394.jpg
    1.3 MB · Views: 26
  • IMG_0395.jpg
    IMG_0395.jpg
    1.5 MB · Views: 26
  • IMG_0396.jpg
    IMG_0396.jpg
    1.4 MB · Views: 32
  • IMG_0397.jpg
    IMG_0397.jpg
    1.2 MB · Views: 28
  • IMG_0398.jpg
    IMG_0398.jpg
    1 MB · Views: 24
  • IMG_0399.jpg
    IMG_0399.jpg
    1.3 MB · Views: 30
  • IMG_0400.jpg
    IMG_0400.jpg
    1.4 MB · Views: 35
  • IMG_0401.jpg
    IMG_0401.jpg
    1.5 MB · Views: 23
  • IMG_0402.jpg
    IMG_0402.jpg
    1.1 MB · Views: 24
  • IMG_0403.jpg
    IMG_0403.jpg
    1.1 MB · Views: 23
  • IMG_0404.jpg
    IMG_0404.jpg
    1.4 MB · Views: 26
  • IMG_0405.jpg
    IMG_0405.jpg
    1.6 MB · Views: 27
  • IMG_0407.jpg
    IMG_0407.jpg
    1.3 MB · Views: 28
Update: Re-assembly is shaping up. Drivetrain is assembled. Finally got engine back from machine shop, and the painter is just now starting on the body. Hope to have the body back in the next couple of weeks, get the engine put back together and crank her up for the first time in almost three years. This has taken way longer than I anticipated.
 

Attachments

  • Drivetrain.JPG
    Drivetrain.JPG
    2.2 MB · Views: 28
  • drivetrain2.JPG
    drivetrain2.JPG
    2.2 MB · Views: 23
  • Drivetrain3.JPG
    Drivetrain3.JPG
    2.2 MB · Views: 24

that must have been one hell of a job, however, I like the way you have outlined the step by step process to the very end. I am sure you must have been elated when you finally pulled through. the reassembling of the of the whole thing might have been crazier, i bet you went for new screws to make the work a little easier....
 
Back
Top