Some actual Tech in the Tech session

I also added some hood louvers to mine; mine came of a Pontiac Grand Prix and I spray painted them with Duplicolor textured black. I think they look rather nice, and they do work...

DSC00089-1.jpg


DSC00088-1.jpg


Felipe


I have been searching the junk yards for a year looking for these, or the louvers from a lumina Z24 or just about anything. ebay they sell for $50.. plus shipping, I personally could not justify the price point, but they look hot! glad to hear that they work. I will be taking some time off from work next week to put mine on and re-work my roll cage and get my suspension seats in.
 

First thing on todays agenda, get some measurements. so I marked the center points of both seats, and then the shoulder location on the drivers seat. Yes I am short.
S1033403-1.jpg

Seats and seat belts are out
S1033406-1.jpg

stripped her down to bare minimum
S1033404-2.jpg

S1033405-2.jpg

Took some modding and grinding and bending and drilling, but I got the factory sliders to not only fit, but work on the suspension seats. For now I am using 2.52.5x3/16 aluminum angle as a seat base. It is what I had. I will probably be clearencing these a lot to get the seats with the same seat heght and rake as the originals, but this was just the first one. I evetually got all 4 mounted. I will be welding full circumfrance tabs to the cage to hold the seat to it. after throwing some tube at the jeep, I might flip the angle and g a bit wide to get a lower pofile.
S1033409-1.jpg

This was my first and fail method to mocking up the new seats for general measurement. I did not photo the second, and successful method, but what I did was put some 2x4's across the top of the cage and suspend the front with one strap and 2 on the rear, made it way easier to center the seat and fine tune the heights.
S1033410-1.jpg

No need to comment on the filthy work bench... but here is the JD2 notcher. Thing works the balls, little less than a minute to notch the tube. and this was my first set up, I as getting a lot of vibes so I took the base off, spun the vise 90* and secured it that way. much better.
S1033411-2.jpg

It was getting late, but here is the begining. I used the mini sledge to "clearence" the transmission tunnel about a 1/2 inch might need to persuade it down another 1/4 or so.
S1033412-2.jpg

S1033413-1.jpg

S1033414-1.jpg
 
Didn't get a whole lot done today, spent most of the afternoon playing with my Daughter in the yard. Did get to spend an hour in the garage though.
Here is a photo that I forgot to post with the shots yesterday, I used a long piece o angle to mark a straight line the length of the tube to act as a reference point. Then I also marked a center point of the arbor on the back of the notcher. It really makes lining up notches way easier and dead nuts on.
S1033415-1.jpg

I also added the other main support for the seats. While at it I had a couple pieces of scrap that were about 14” so they will go inbetween the main, I have not notched them yet simply because I already changed holesaws and didn’t feel like changing back. Supports and hold my ammo can, just going to reuse the one I had, why fix what works.
S1033417-1.jpg

I added a dash bar, something that the original cage didn’t have and really bothered me.
I put it so it is low enough not to impair vision of the trail, but won’t block the gauges when in the seat.
S1033418-2.jpg

S1033419-3.jpg


Not Sure if I will get a chance to work on it until Friday, I will be out all night tomorrow to watch Game 7 of teh bruin/hurricanes series. I am still thinking about how I want to connect the dash bar to the A pillar hoop, trying to avoid nodes, but also trying to avoid it looking retarded. I still have another 20 feet of tube to throw at it, but I am also waiting on a package from ruff stuff enterprises before I can start tacking it together.

I doubt anyone is actually reading this but any suggestions on the color? thinking silver.. serious, anyone reading this? Great Googally moogally
 

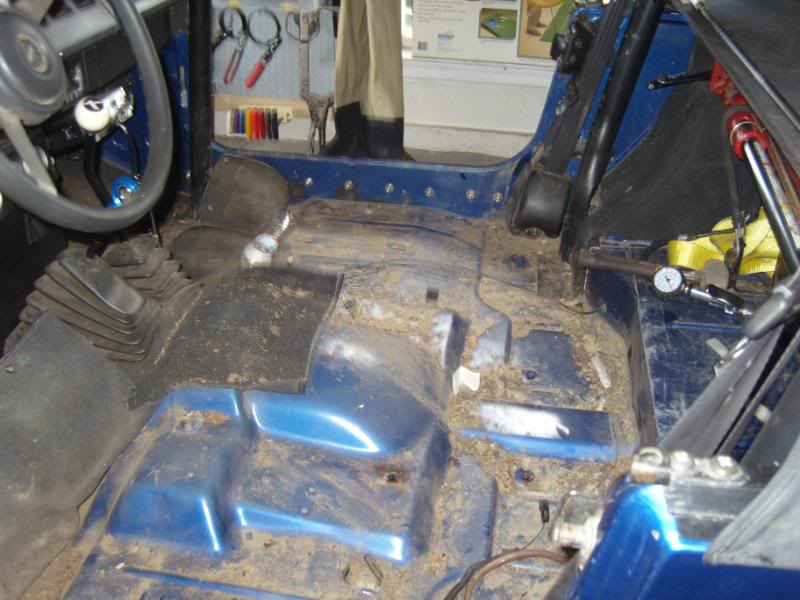
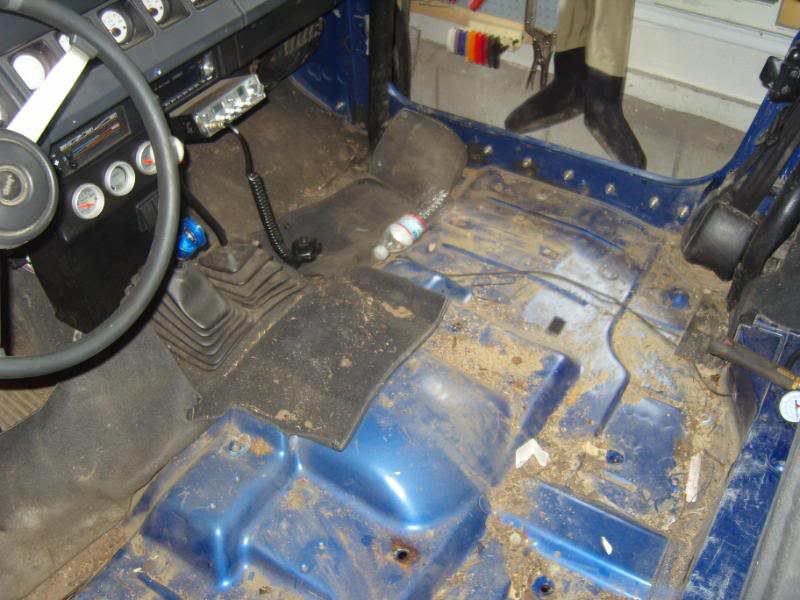
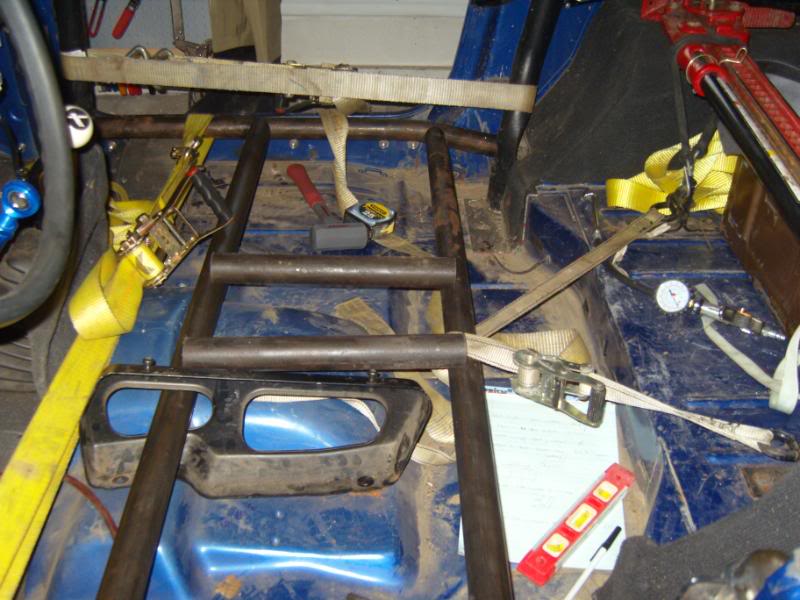
I knew this when I got this cage and I knew it had to go... the rear brace was not a piece of structural tubing... it was a piece of exhaust tubing
S1033420-3.jpg

S1033421-3.jpg

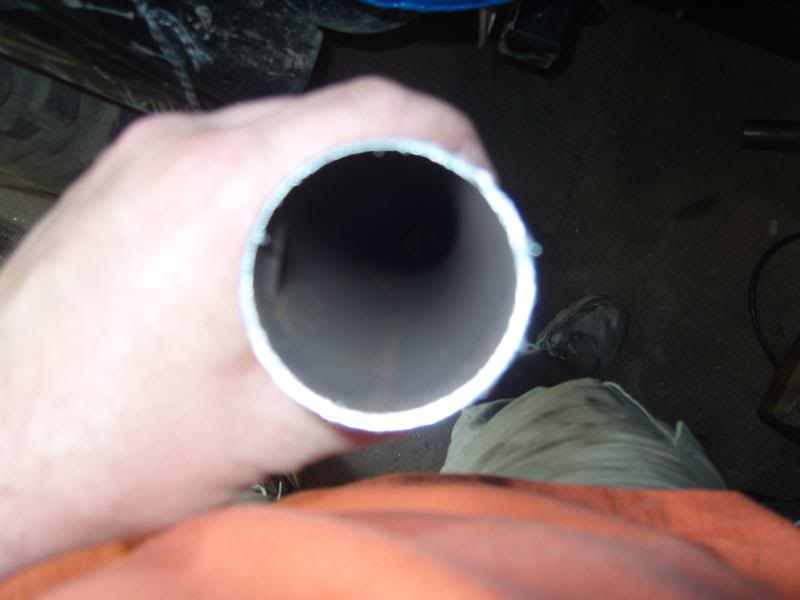
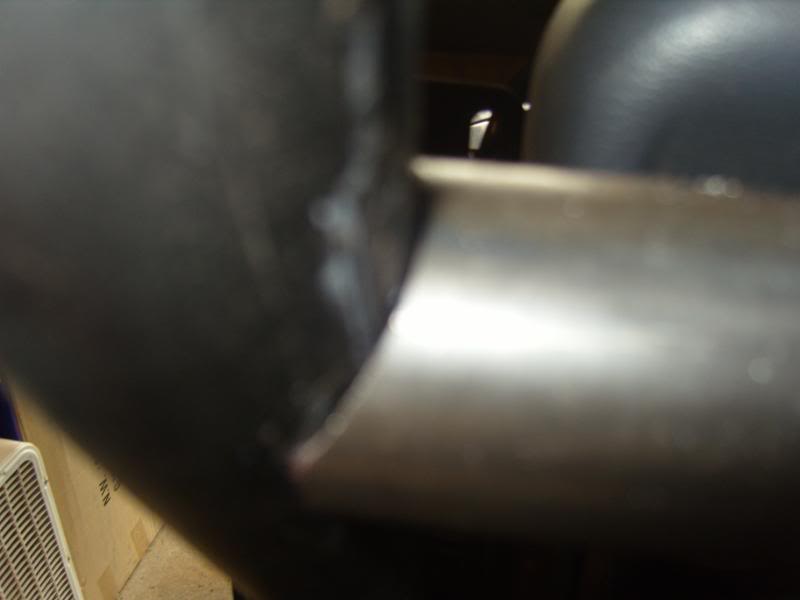
Look at the difference between the 120 wall and the 16ga tubing.
S1033422-3.jpg

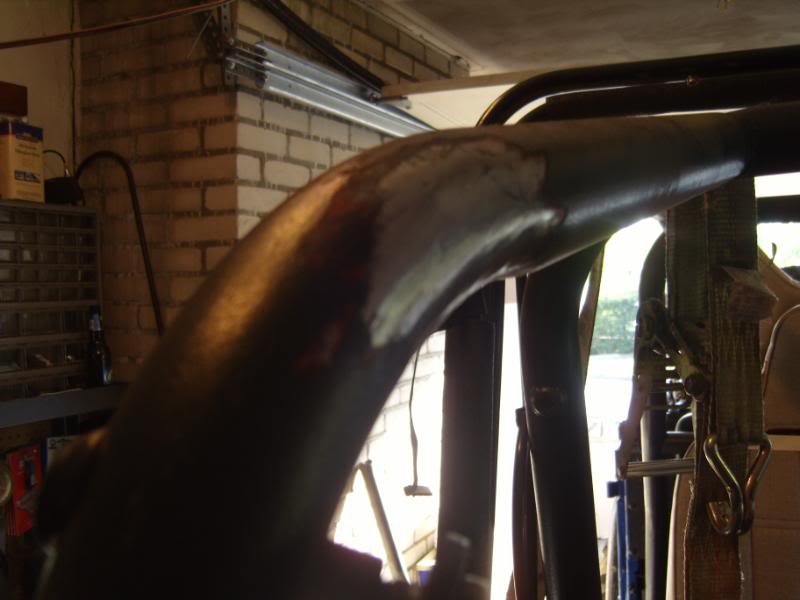
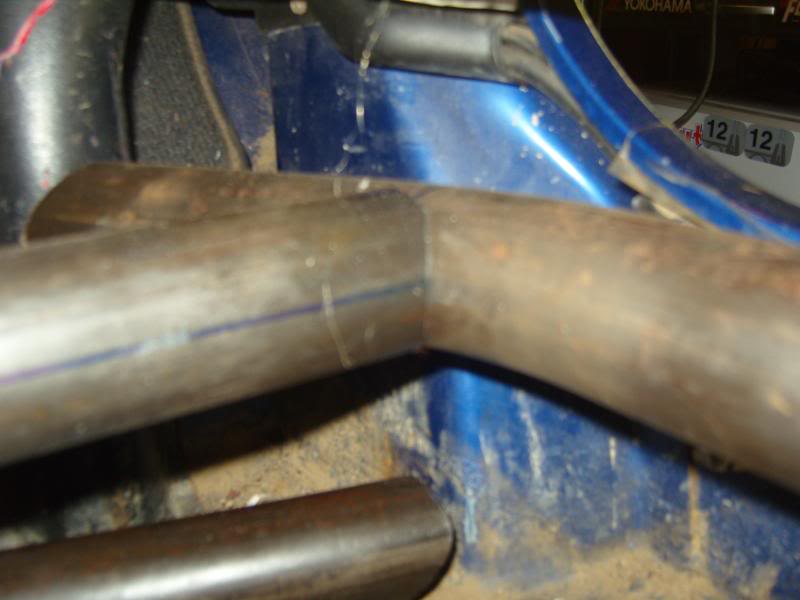
Now I think I know who welded this in, and I don't want to be critical of the horrible booger welds that poorly penetrated the roll bar and the excessive amount of wire scrap inside the booger weld meaning the notch gap was joke... so I won't. it tooka while, but got it all cleaned up
S1033423-3.jpg

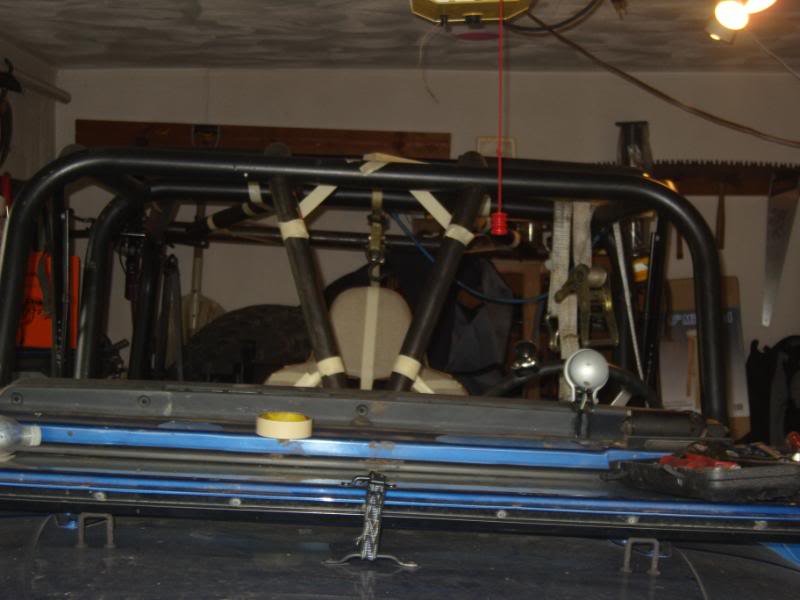
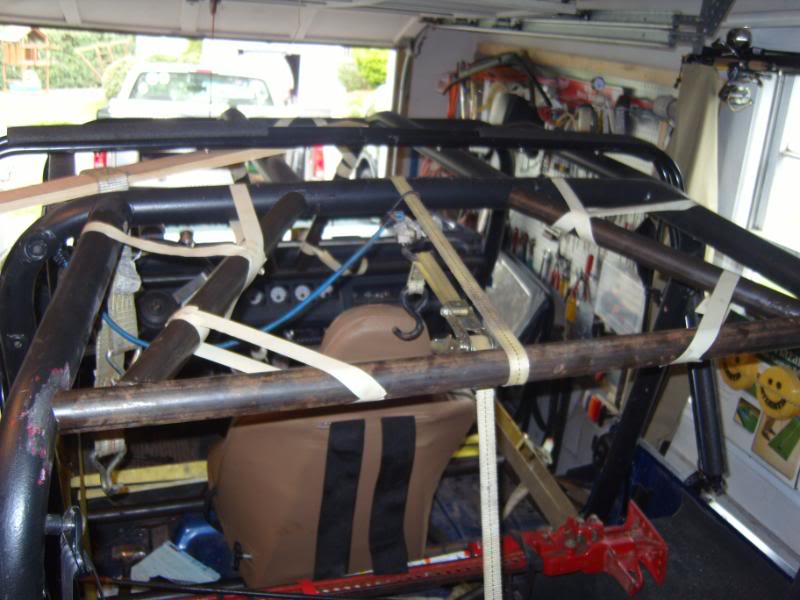
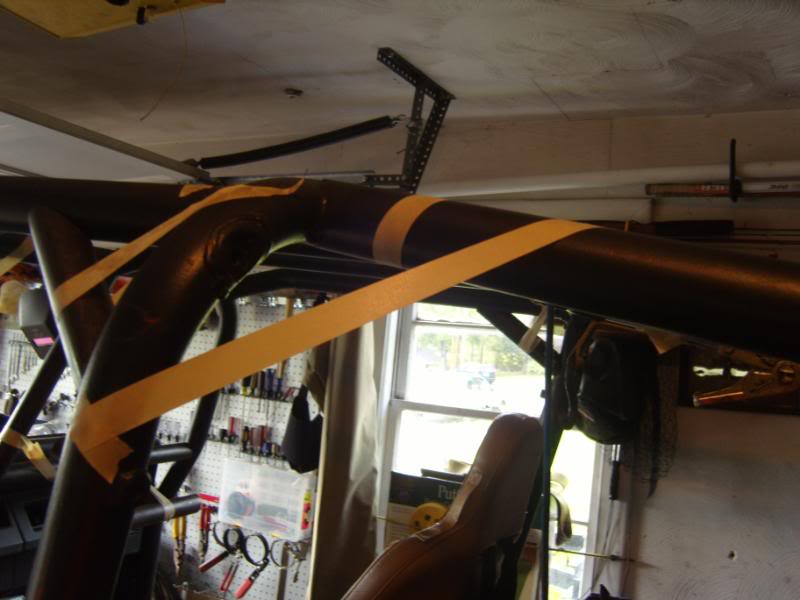
Since I am pretty much out of tube, and no desire to spend another hour grinding, the front of the cage will look lke this I think. I was playing with masking tape looking at how a load with be distributed through the cage on a side load, and while this is not Ieal, it is sufficient I think. I might switch it in anticipation of redoing the front of the cage though, here is what it looked like (this tape is just holding the tube up)
S1033431-2.jpg

S1033432-2.jpg

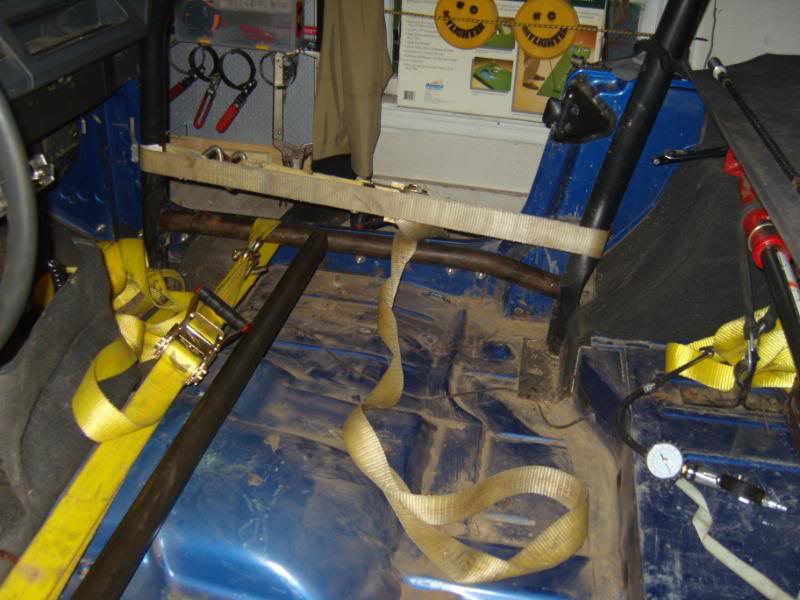
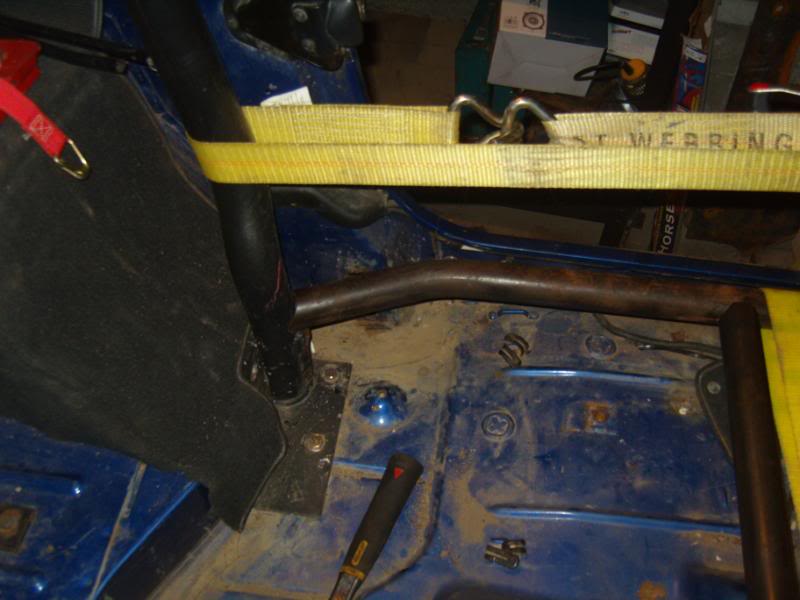
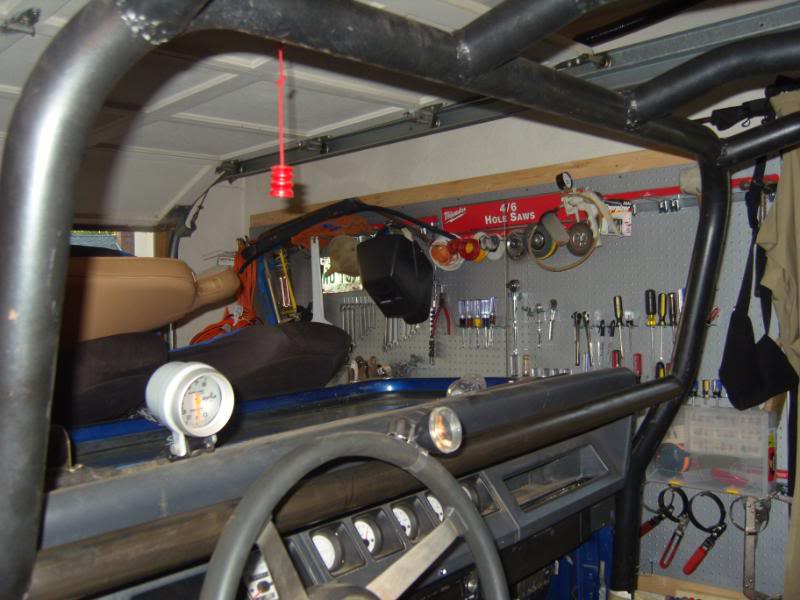
I replaced the rear support and added these two bars that will tie into the front section. before anyone coments... "if you rework the front these will be ended nodes," already took it into consideration, more on that when the front gets re-worked. I am going to make some cool ass speaker pods to mount in the space inbetween these bars, thats on the dry erase board for next weekend. you'll have to wait and see.
S1033433-2.jpg

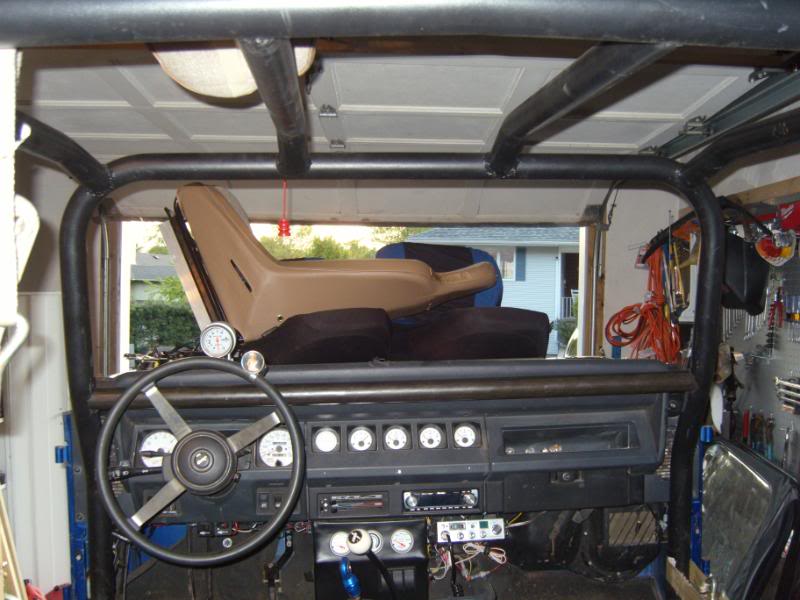
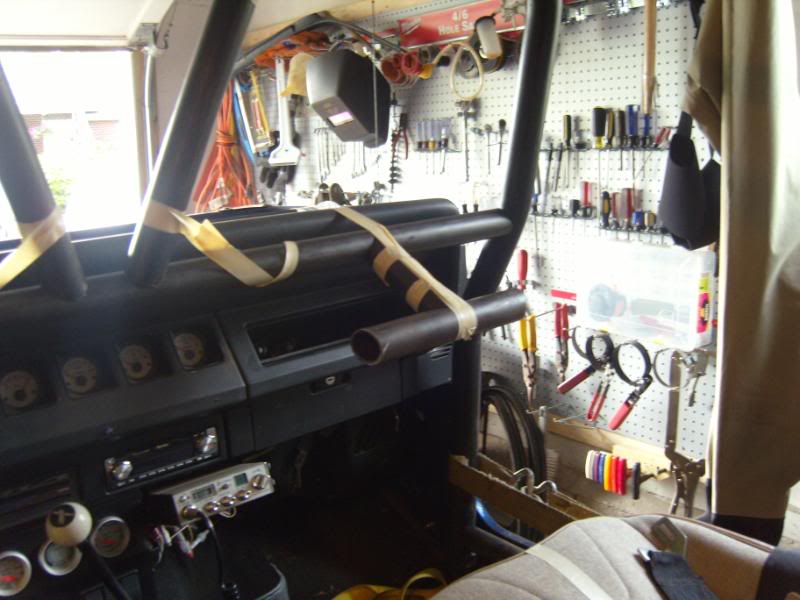
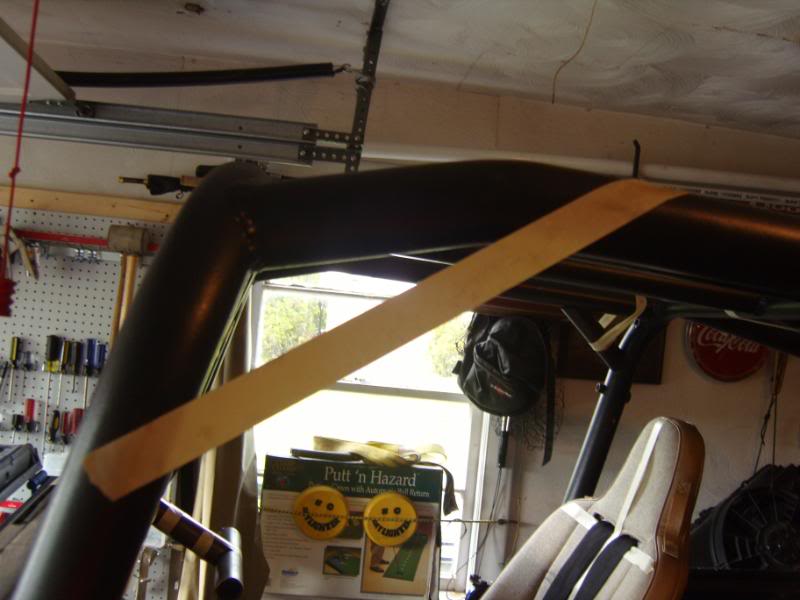
Made a passenger OH'[censored] bar, not the original design, but getting a piece of tube that had the radius I desired wth a 180* bend was not gonna happen with the provisions I have at my disposal, so this will work, also, this is not the actual location, this is where the tape would hold it. ;D It is hard to see, but the ends are mitered 15* and I will entually cap them and smooth them out.
S1033438-2.jpg

Added gussets just above the Drivers and passengers heads, the other two photo's show future gussets, need to put a couple bends into the tube to make them look good though.
S1033437-2.jpg

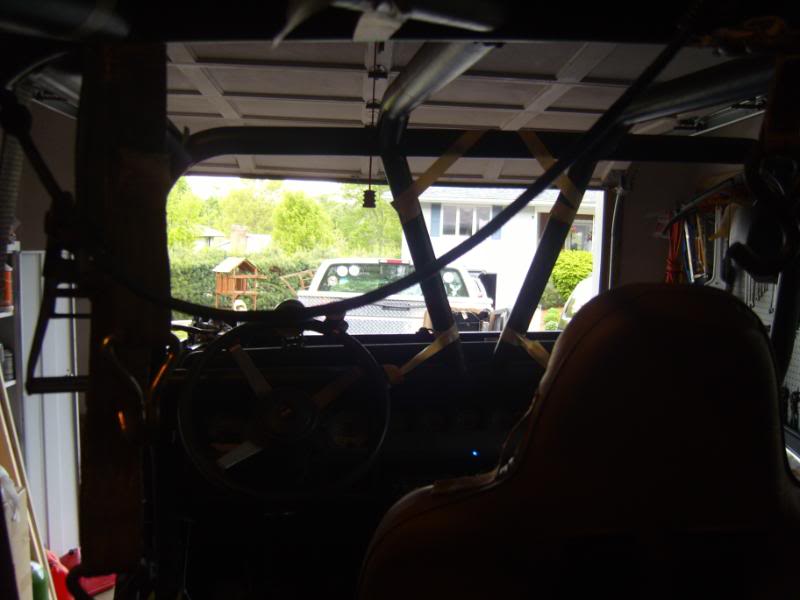
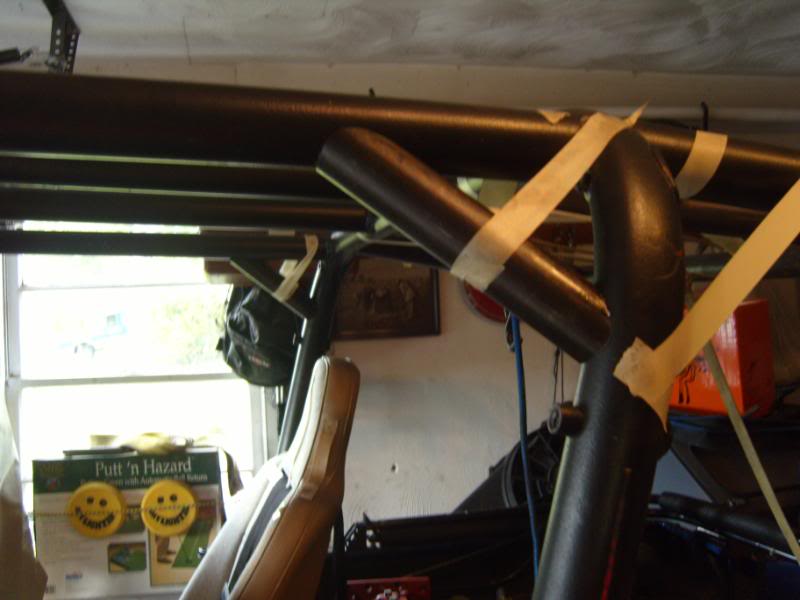
this is the A pillar hoop
S1033439-2.jpg

this is the rear of the B piller hoop
S1033440-2.jpg


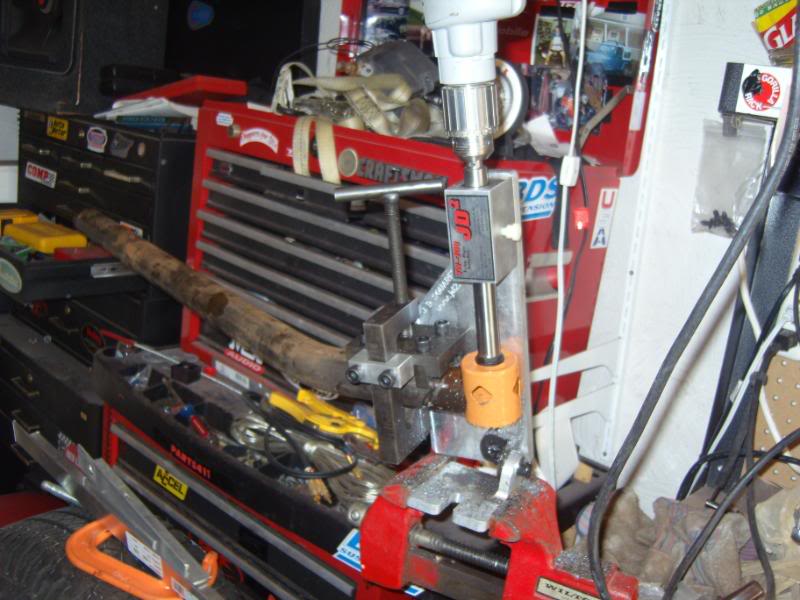
Too add, I have done plenty of tube work before, always using the grinder method... Go buy a notcher, makes notched tighter than a bulls ass in fly season, god I am loving this thing!
S1033435-3.jpg

S1033436-3.jpg

I will be bending more tube up tonight, and I am also waiting for a shipment from ruff stuff, so I will have more updates soon, I am also almost out of tube, hard to think that I threw almost 40 feet of tube at this.
 
Ver Good Read! I love being able to fabricate my own stuff. I just don't have the tools to do things like that. Kudos Johnny!
 

Looking good.
Humvee wheels work pretty good with dually fronts, but then you're stuck with 16.5's.
One thing to research though is the rear steer 60. I have seen some pretty tricked out rear steer 60's with chromo shafts, CTM's, electronic joystick valves with auto return to center etc...and seen multiple broken pinions. IMO it's a gamble. It might work for you pending tire size, but that's a lot of work just to see. Rockwells were the rage down here about 4 years ago, then everybody seemed to migrate back
That's the same fuel cell I use. Did you happen to notice if it had the aluminum pickup tube or the rubber hose? Some older ones had a rubber hose that RCI neglected to put a clamp on. Guess what happens when it gets saturated with fuel. Had one fall off a buddy's rig at 1:00 a.m. this past sunday morning. It would have sucked if we wouldn't have had full coolers. Yours looks like mine, so I think it's ok.
I'm too lazy to look right now, but there's some picks of my airshock mounts and back half job on here somewhere. to tons. Too much effort required to push those heavy axles up our wet hills.
Also, my buddy sells hydro steer setups on e-bay under the name heep86. He's got front and rear steer setups.

Pick up is aluminum in the cell.

for tires I am on the fence, but they will either be the new 40" ltb's or the new 43" SX's I am gonna go with a 17" rim since the LTB's are only abailable in that size, plus for what it will cost to get the H1 rims, stiffen them up, make/buy inner bead lock PVC thingy's, it will be cheaper to get some cheap steel 17" wheels and some DIY Beadlocks like I have now. I like them and they are cheap. One of my axles (I think) has step down shafts, the other I know doesn't, so I will be running some type of chomoly inner and stock D70 outers with Bobby Long Joints. I have been measuring for the rear shaft, I am replacing the motor mounts anyways, so I am gonna angle the entire drive train towards the rear dif a couple degree's so it will decrease the rear 60 pinion issue (or so I have read)

If I skip the whole ebay crap, think your friend will cut me a deal? I will be full hydro front and rear, I don't NEED a return to center function on the rear, it would be nice, but not needed.

Rockwells smockwells.. I just finished helping a friend put the rear steer rockwell into his YJ, he runs 47" LTB's, IMHO, too big and too heavy, he has a 7.4L big block and he really needs to get in it to bump up things, granted the D60's are no feather weights, but they have to be atlest 200lbs less than a rockwell and a lot better ground clearence, even if you mohawk the rockwell.
 

The kits he sells use a standard orbital valve and 2x8 cylinder for the front. The rear is a lever style 3 position valve with open center and another 2x8 cylinder. These are not the ultra sexy double ended cylinders like you see with the high dollar kits. These are the standard red colored tie rod cylinders. We've been running them for years without trouble. You'll have to make your own hoses. He has a bunch of brackets and what not cut at a local laser shop, so he can probably set you up with the cylinder to axle mounts as well. I believe they are 1" steel that you simply weld to the axle housing. A lot easier than making your own. The other end of the cylinder will be mounted to your tie rod or however you determine is best.
You can view the kits on e-bay and if you want to work outside that, pm me and I'll send you his phone number.
 
Right on! Thats all I was gonna do, I have the surplus hardware catalog all marked up. There is a shop less than a mile from my house, they can make all my hydro lines, When I was putting AC into my hot rod, they only charged me $2 per line 2 crimps per line for a stainless brained line.

I'll check that out!
 
Unfortunatly I have nothing to add to this, I finially got a shipment from Dan over at ruff stuff. took three weeks but it's here
 

I just realized that I never updated this.

I initially wanted to paint it that Gold spray paint, but the store only had one can and I knew I was going to need at least 3 so I ended up painting it with chrome spray paint. didn't come out exactly as I wanted to. Looks more like aluminum than chrome, but what ever. this is only temporary color. Like mentioned before, I will be 4 linking the rear and will mount the air shocks off the cage.

Starting next week I am going to be building my own front fenders, stayed tuned.

S1034053-1.jpg
 
Back
Top