That's rough. Glad you're on the mend though.
You are using an out of date browser. It may not display this or other websites correctly.
You should upgrade or use an alternative browser.
You should upgrade or use an alternative browser.
Turbogus' long slow Team Rush upgrade
- Thread starter Turbogus
- Start date
JPNinPA
Active member
Turbogus
New member
This is Important
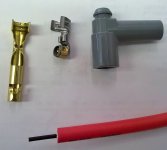
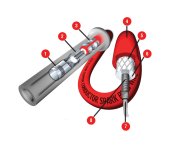
When stripping the wire to expose the conductive strands it is nesessary when pulling the outer shielding from the wire to be pushing the core oppositely. The reason for this is the core strands are so tightly enclosed by the inner sleeve it can become unraveled leaving you to cut and start again!
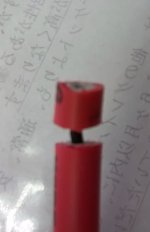
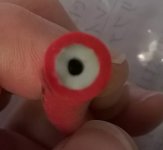
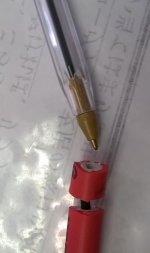
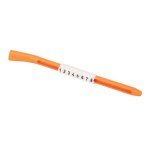
I used a ball point pen to poke through and it worked well.
When stripping the wire to expose the conductive strands it is nesessary when pulling the outer shielding from the wire to be pushing the core oppositely. The reason for this is the core strands are so tightly enclosed by the inner sleeve it can become unraveled leaving you to cut and start again!


I used a ball point pen to poke through and it worked well.
Last edited:
JPNinPA
Active member
Now Turbogus you know there aren't any other Jeep forums!
I think JPNinPA is referring to this:
https://www.jeepz.com/forum/cherokee-commander-wagoneer-liberty/47919-94-cherokee.html
I think JPNinPA is referring to this:
https://www.jeepz.com/forum/cherokee-commander-wagoneer-liberty/47919-94-cherokee.html
Turbogus
New member
JPNinPA
Active member
Turbogus
New member
I would be JPN, but upon startup I could tell that the motor was loading up the plugs. I turned the distributor to get at that alignment tab but did not remove it. I had returned the distributor was very near where it was before this work, I was intending to check the timing but dinner was getting cold. Going to try to recheck the wiring tonight as I may have pulled something loose when I turned the distributor. Before checking the timing I've got to get under there and clean up my timing marks. Since getting these damnable bifocals it's hard to focus down there. I'm need'n a rifle or spotting scope I guess.
Turbogus
New member
I just ran across a photo of the stock location of the spark plug wires, I wish I'd have seen that before I began this adventure. Mine are kind of messy, but I'd been advised to seperate each wire as far as i could. I guess these old AMC motors are right finiky, the Chevy 350's I'd run in the past 35 years were not so.
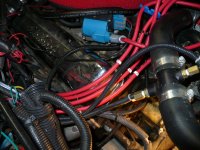
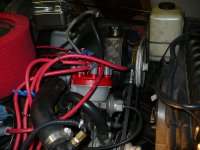
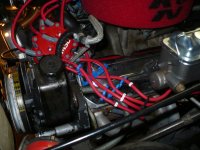
There was a bunch of white paint on the dampner pulley making it near impossible to zoom in on the timing mark. So I rotated the crank by hand and wire brushed to paint off until I could find the mark. I then used a paint pen to enhance visibilty, I still have yet to mark the timing marks, was hoping after cleaning up a marker would suffice to enhance the lettering.
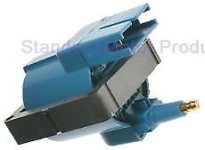
I pulled the spark plugs on the left bank and sure enough, they were fuel fouled. I could clean them up with my HF mini sandblaster spark plug cleaner, but if it's not premature I'm thinking I'm going to go with Autolite 646's for the larger gap. I have yet to purchase and install the MSD 6 yet, I want to sort out the tune of the motor first.
Last edited:

